How to Frame Artwork for an Exhibition: Expert Steps for Professional and Stunning Displays
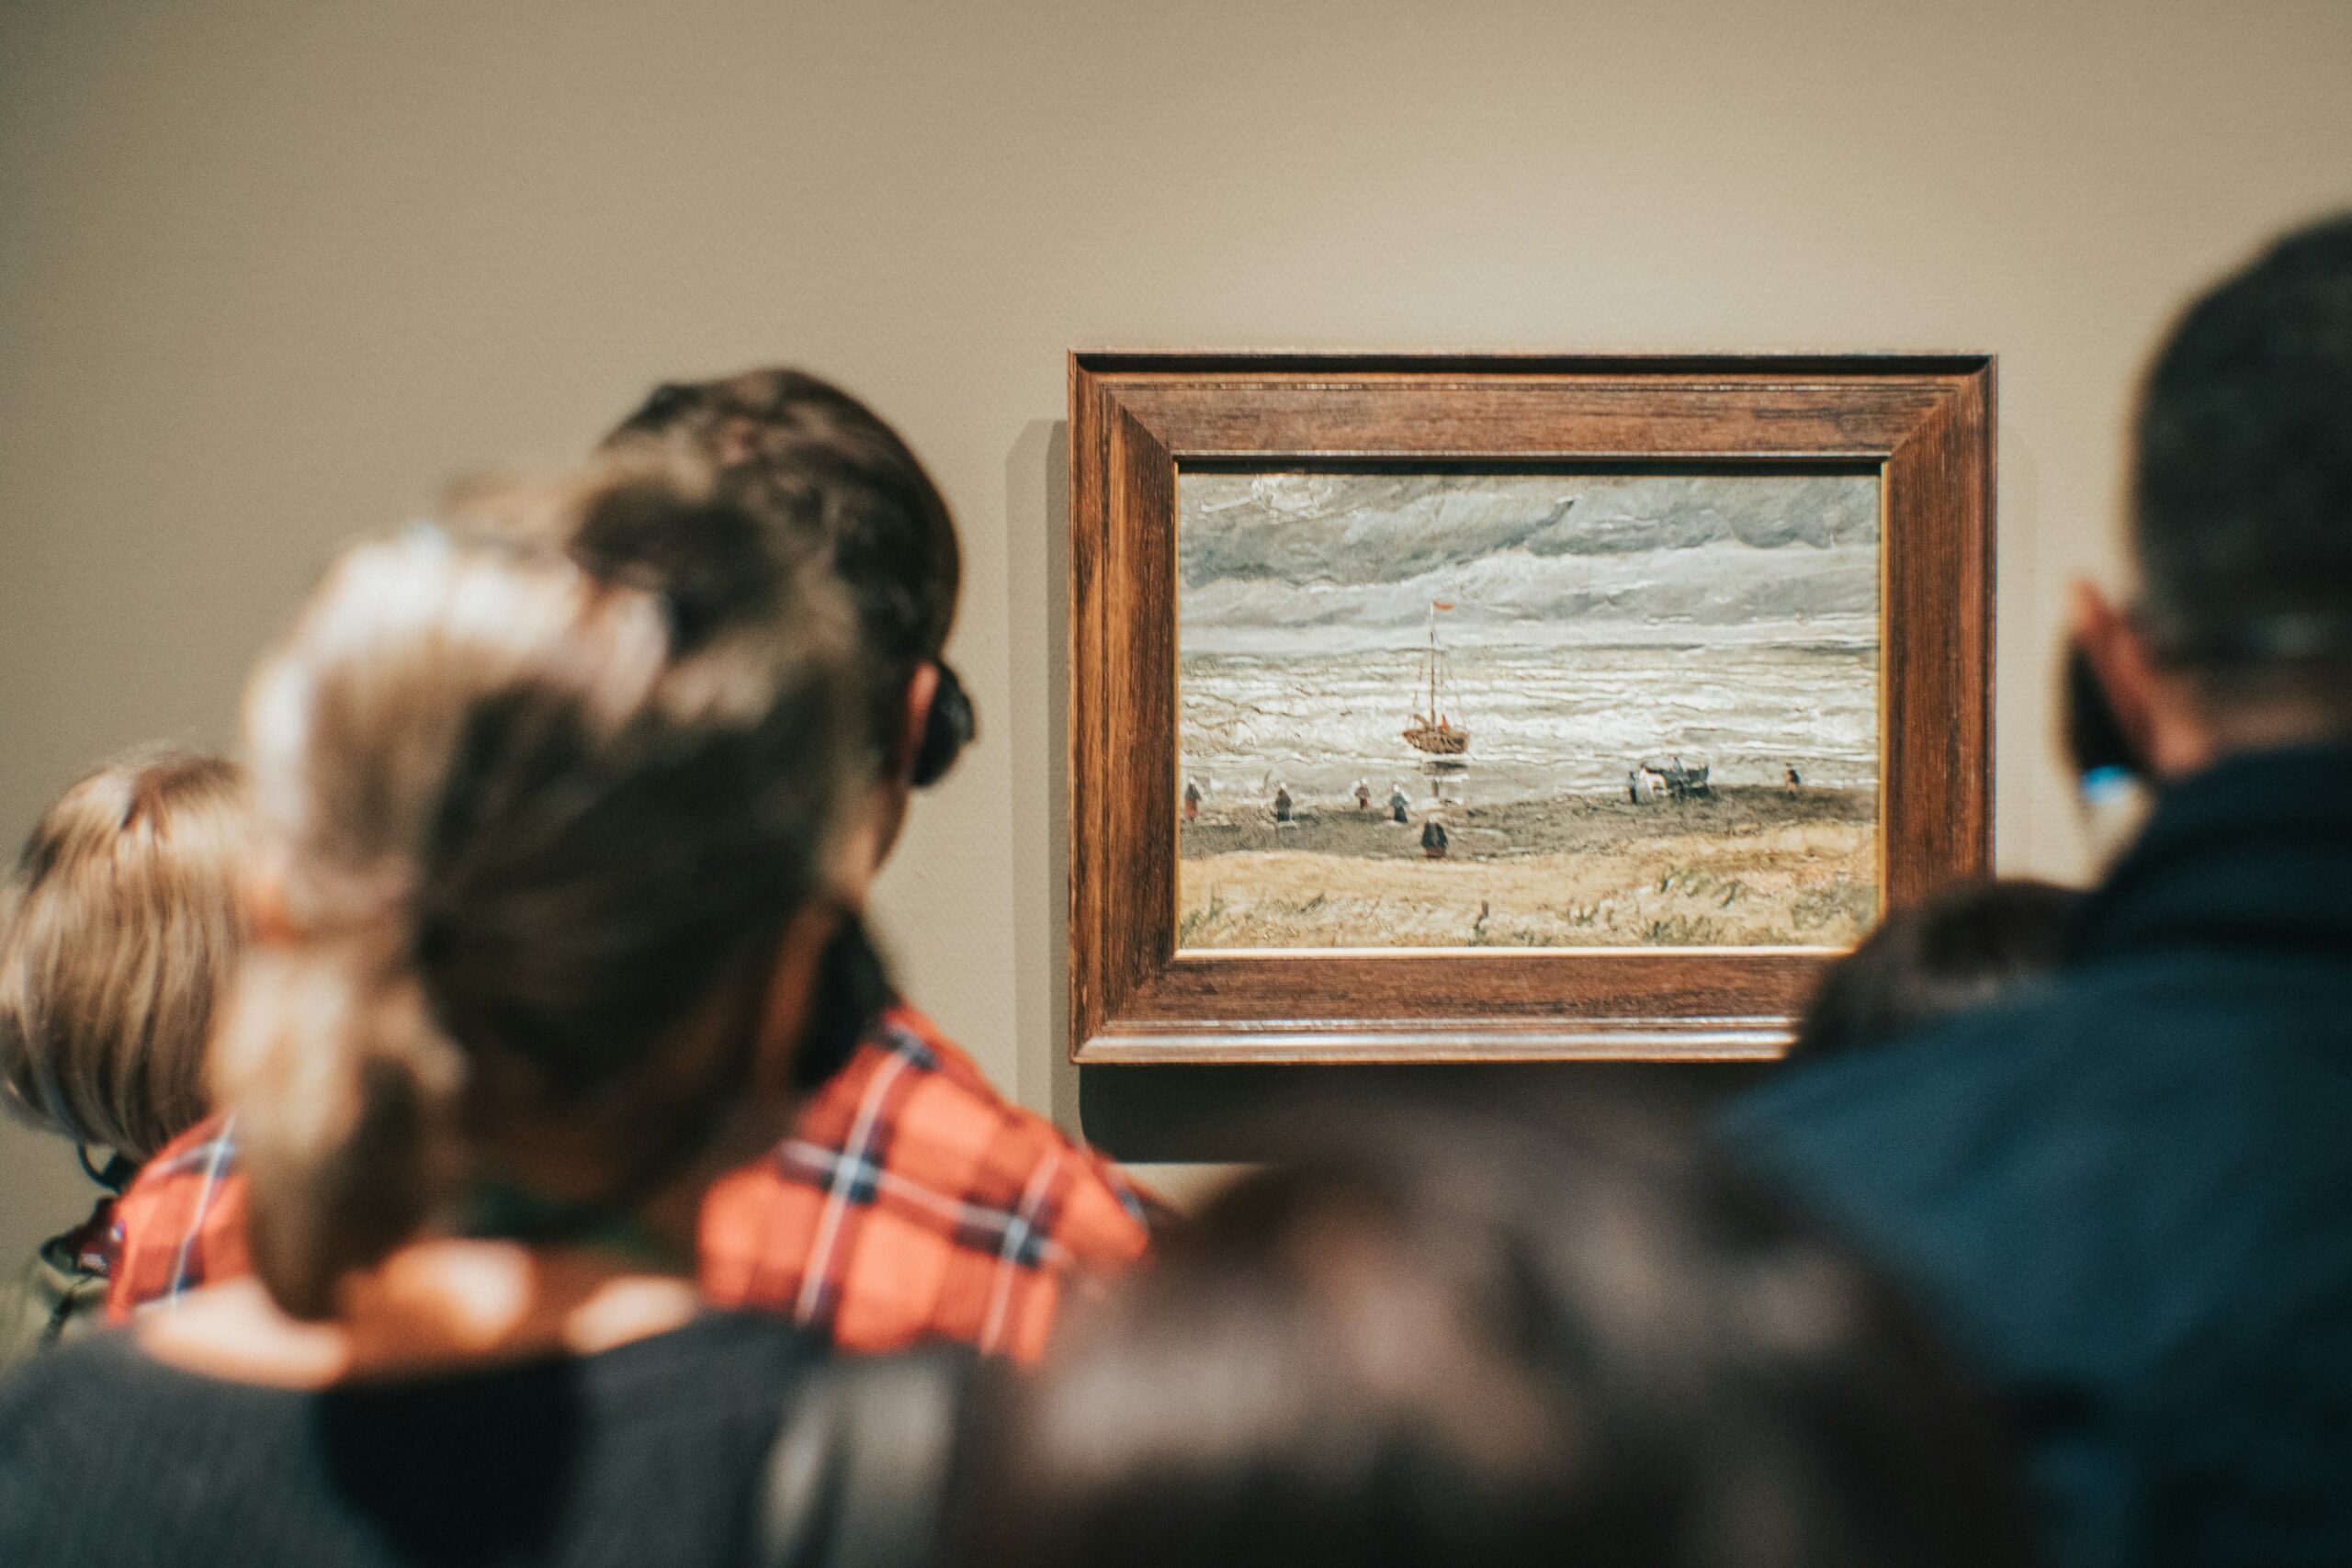
Framing artwork for an exhibition always feels like an exciting challenge. I know just how much the right frame can elevate a piece, drawing viewers in and letting the art shine. It’s not just about protection—it’s about presentation and making a statement.
When I prepare work for a gallery, I pay close attention to every detail. The frame, mat, and glass matter just as much as the art itself. A well-chosen frame can complement the style and mood of any piece, turning a simple display into a memorable experience for everyone who walks through the door.
Understanding the Importance of Proper Framing
Proper framing directly impacts the presentation and longevity of artwork during exhibitions. Frames protect pieces from physical damage, such as scratches or environmental exposure from dust and light. If environmental conditions aren’t controlled, museum glass and UV-filtering acrylic reduce risk by blocking up to 99% of UV rays and minimizing glare.
Framing influences how viewers perceive the artwork. Frame color, width, and style—like simple black metal for modern pieces or ornate gold for classical oil paintings—affect the visual narrative. Consistent framing across several works creates unity on gallery walls, making the exhibition more cohesive and impactful.
Each material involved in framing serves a specific preservation role. Acid-free mats prevent artwork discoloration, and rigid backings stabilize pieces during transport or prolonged display.
For exhibition success, frame selection interacts with other display decisions. Lighting, wall color, and frame size all combine to help artwork stand out while complementing gallery design.
| Framing Element | Function | Example Use |
|---|---|---|
| Museum Glass | UV protection, anti-glare | Works on paper, watercolors |
| Acid-Free Mat | Prevents discoloration | Photography, prints |
| Rigid Backing | Structural support | Large-scale canvases |
| Custom Frame | Enhances style, fits work | Irregularly sized or three-dimensional art |
| Archival Spacer | Prevents contact with glazing | Pastel drawings, charcoals |
Choosing the Right Frame for Your Artwork
Selecting the right frame for artwork in an exhibition context involves style alignment and practical needs. Matching a frame to the piece ensures consistency, while meeting exhibition standards protects and elevates the work.
Matching the Frame to the Art Style
Aligning the frame with the art style provides visual harmony. For example, ornate gold-leaf frames suit classical oil paintings, while slim, black metal options complement modern photography. When I choose neutral wooden frames, they support minimalist pieces and don’t distract from bold compositions. Museum-standard frames often use subtle finishes and clean edges to let the artwork hold attention. Specific examples from recent exhibitions include white float frames for abstract canvases and deep-set shadowboxes for three-dimensional pieces.
| Art Style | Frame Type Example | Typical Material | Finish |
|---|---|---|---|
| Classical | Ornate Gilded | Wood or Composite | Gold Leaf |
| Modern | Minimalist Metal | Aluminum | Matte Black |
| Contemporary | Simple Wood | Maple, Birch, Oak | Natural/White |
| Photography | Gallery Box Frame | Metal or Wood | Black/White |
| Mixed Media | Shadowbox | Wood | Stained/Matte |
Considering Exhibition Requirements
Exhibition guidelines inform frame selection by dictating dimensions, weight, and safety features. Many galleries request shatterproof glazing, D-ring hangers, or standardized frame profiles for group shows. I reference the gallery’s published display standards before customizing frames for each piece. For artwork traveling across venues, lightweight acrylic glazing and reinforced corners reduce damage risk. Museum glass offers 99% UV protection and glare reduction, making it suitable for works displayed under strong lighting. Acid-free backing and mats maintain the integrity of delicate works, particularly paper-based art. In recent group exhibits, I adopted consistent 2-inch borders and secure wire systems for ease of installation.
| Exhibition Requirement | Framing Feature | Example | Impact |
|---|---|---|---|
| Security | Shatterproof Glazing | Acrylic/Museum Glass | Reduces breakage |
| Uniform Display | Standard Profile | 2-inch Black Metal | Cohesive appearance |
| Preservation | Acid-Free Materials | Cotton Rag Matting | Prevents discoloration |
| Ease of Hanging | D-Rings/Wire | Braided Steel Wire | Simple installation |
| Travel | Reinforced Corners | Protective Corners | Minimizes transit harm |
Preparing Artwork for Framing
I begin framing for exhibition by assessing artwork type and requirements, since proper preparation ensures pieces stay protected and visually unified on display.
Selecting Appropriate Matting and Backing
I select acid-free mats and archival backings to prevent discoloration and preserve artwork. Matting separates art from glazing, reducing condensation risk. Examples include white cotton rag mats for watercolors and black core mats for contemporary prints. For backing, I use rigid boards like foam core for photos, or buffered museum board for delicate papers, which keep artwork flat and stable. Dimensions and weight factor into my choice, correlating with exhibition guidelines.
Matting and Backing Materials Table
| Material | Use Case Example | Preservation Role |
|---|---|---|
| Cotton Rag Mat | Watercolors, drawings | Acid-free, prevents yellowing |
| Foam Core Backing | Photographs, prints | Rigid support, lightweight |
| Museum Board | Antique works on paper | Buffered, resists acids |
| Black Core Mat | Modern prints, photos | Visual depth, archival |
Ensuring Artwork Protection
I secure artwork against physical and environmental damage with multiple layers. UV-filtering glazing, like museum glass, stops 99% of damaging UV rays and cuts glare. Dust covers and sealing tapes block airborne contaminants. Archival corners or hinge-mounting secure pieces without adhesive on the art. Secure D-rings and hanging wire withstand display stress, supporting safe installation and transport for each piece.
| Protection Feature | Function Example | Exhibition Benefit |
|---|---|---|
| UV-Filtering Glazing | Museum glass/acrylic | Shields from fading and glare |
| Archival Hinge Mount | Japanese paper hinges | No adhesive contact with art |
| Dust Cover & Sealing | Tyvek, acid-free tape | Prevents dust, limits humidity |
| Secure Hanging System | D-rings, braided wire | Reliable wall mounting, safety |
Step-By-Step Guide: How to Frame Artwork for an Exhibition
Framing for exhibition display requires precision and care to ensure artwork remains protected and looks professionally presented. I systematically approach each step to guarantee result consistency and high display standards.
Gathering Tools and Materials
Gathering suitable tools and materials ensures both workflow efficiency and artwork safety. I choose items that match industry standards.
| Tool/Material | Use Case | Example/Type |
|---|---|---|
| Frame | Surrounds artwork | Wood/Metal (2-inch profile) |
| Acid-Free Mat Board | Protects artwork from direct contact | Museum-grade white core |
| UV-Filtering Glazing | Shields from UV rays and glare | Plexiglass, Museum Glass |
| Backing Board | Provides structural support | Acid-free foam core |
| Hanging Hardware | Supports exhibition installation | D-rings, Wire, Cleat |
| Archival Hinging Tape | Secures artwork to mat/backing | Linen, Japanese Paper |
| Dust Cover | Seals frame back | Kraft paper sheet |
| Cutting Tools | Trims mats, backs, or tape | Utility knife, Mat cutter |
| Cleaning Cloth or Brush | Removes dust | Microfiber, Anti-static |
Mounting the Artwork
Mounting techniques stabilize artwork for exhibition, minimizing risk of shifting or damage.
- Placing artwork face down on a clean surface, I position acid-free mat over it to confirm alignment.
- Attaching artwork to the backing, I apply archival hinging tape—typically at the top only—for flexibility and to avoid stress on the piece; professional displays often use Japanese paper hinges for conservation.
- Smoothing the mat over the piece, I inspect for dust, fingerprints, or debris to maintain presentation quality and reduce risk of long-term marks under glass.
Securing and Sealing the Frame
Securing and sealing the frame ensures artwork stays protected during exhibition movement and display.
- Assembling frame components, I insert matted artwork and acid-free backing into the frame, placing glazing in front if included.
- Locking frame tabs or applying framer’s points, I check for a tight fit without compression that could damage the art or glazing.
- Installing hanging hardware—D-rings or a wire, measured for wall alignment—I distribute weight evenly for stability.
- Sealing frame back, I apply a dust cover with double-sided adhesive or framer’s tape; this keeps debris and insects out throughout the exhibition period.
- Cleaning the frame and glazing exterior with a lint-free cloth, I verify no fingerprints or particles show for gallery lighting.
I standardize each procedural step to align with gallery requirements, making installation uniform and presentation professional.
Tips for Displaying Framed Artwork at an Exhibition
Displaying framed artwork in an exhibition requires precise placement, effective lighting, and clear labeling. Every detail, from spatial arrangement to presentation style, influences both audience engagement and the preservation of each piece.
Placement and Lighting
Arranging framed artwork with intention maximizes visual impact throughout exhibitions. I place artwork at an average eye level height of 57 to 60 inches from the floor to the center of the piece to align with established gallery standards. I leave consistent spacing, such as 2 to 4 inches between frames, to prevent visual clutter and encourage smooth viewer flow.
Proper lighting enhances artwork color and detail while minimizing glare and fading risk. I use LED or halogen track lights for adjustable, focused illumination. I position fixtures at 30-degree angles to the artwork surface, which reduces unwanted reflections from glazing and prevents washout.
| Display Element | Standard Measurement | Purpose |
|---|---|---|
| Eye-level placement | 57–60 inches center from floor | Promotes comfortable viewing |
| Frame spacing | 2–4 inches between frames | Maintains visual clarity |
| Lighting angle | 30 degrees from artwork surface | Minimizes glare and shadow |
| Light type | LED or halogen | Ensures bright, color-accurate display |
Labeling and Presentation
Consistent, clear labeling communicates essential information and supports the professional presentation of framed artwork. I prepare wall labels that display the artist name, artwork title, medium, and year of creation in a highly legible font sized between 14 and 18 points. I mount labels 48 inches from the floor and place them at a fixed distance, such as 2 inches to the right of each frame, to create a uniform look.
I select neutral label backgrounds—white or gray—so labels remain unobtrusive and accessible. I avoid mounting labels on frames, since this can detract from both artwork and frame presentation. By standardizing label and frame presentation details, I reinforce a cohesive exhibition environment that supports both individual pieces and the overall gallery experience.
| Labeling Element | Specification | Function |
|---|---|---|
| Font size | 14–18 points | Ensures readability |
| Label placement | 2 inches right of frame, 48 inches high | Maintains visual consistency |
| Background color | White or gray | Keeps focus on artwork |
| Included details | Artist, title, medium, year | Provides essential context |
Common Mistakes to Avoid When Framing for Exhibitions
Incorrect Frame Size
Selecting an incorrect frame size distorts the visual balance between artwork and frame. Oversized frames for small pieces, such as a 24×36″ frame for an 8×10″ work, draw attention away from the art and create awkward negative space. Undersized frames can make high-impact work, like a 36×36″ abstract painting, appear crowded or unfinished.
Use of Non-Archival Materials
Choosing non-archival backing or matting, such as cardboard or acidic paper, accelerates damage and yellowing. Regular paper mats don’t prevent acid migration and discoloring, putting watercolors and photographs at immediate risk for preservation issues.
Improper Glazing Selection
Using standard glass without UV filtering exposes artwork, including vintage prints and mixed media, to fading under gallery lights. Non-reflective or acrylic glazing, when absent, results in glare that impedes viewing and potential surface scratches during transport.
Weak Mounting or Hinging
Improper or weak mounting, such as taping corners with household tape or non-archival glue, allows artworks to shift or buckle inside the frame. Fragile works—like thin Japanese rice-paper drawings—may tear or warp if not supported with archival hinging tape and rigid backing.
Inconsistent Presentation Across Multiple Works
Inconsistent frame styles, mat sizes, and hanging hardware disrupt gallery cohesion, as seen in group shows with varying chrome, black, or wood frames. Discrepancies draw attention to the frame rather than the ensemble of artwork and undermine professional presentation.
Neglecting Environmental Factors
Ignoring environmental protection, such as omitting UV-filtering glazing or sealing, accelerates fading and dust accumulation. For humid venues, using non-sealed frames results in warped backing boards and mold growth on delicate pastel or ink artworks.
Table: Common Framing Mistakes and Their Effects
| Mistake | Example | Effect on Artwork | Preventive Measure |
|---|---|---|---|
| Using Non-Archival Mat | Ordinary paper mat | Yellowing, acid burns | Acid-free archival mat |
| Wrong Frame Size | Large frame, small art | Loss of focus, visual awkwardness | Size frame to artwork with correct spacing |
| No UV-Protection Glazing | Standard glass | Fading, glare | UV-filtering acrylic or museum glass |
| Weak Mounting/Hinging | Regular tape corners | Buckling, shifting, tears | Archival tape and rigid support |
| Inconsistent Frame Styles in a Set | Mixed color/materials | Disjointed, unprofessional appearance | Uniform color, size, material |
| Exposure to Humidity or Unsealed Frame | Backing not sealed | Mold, warping, dust accumulation | Sealed frame, moisture barriers |
Conclusion
Framing artwork for an exhibition goes far beyond just picking out a frame. When I approach this process with care and attention to detail I know I’m giving each piece its best chance to shine. Every decision—from materials to installation—plays a part in how viewers experience the art.
By prioritizing both protection and presentation I can ensure my work not only looks stunning but also stands the test of time in any gallery setting. Thoughtful framing always pays off in the impact and professionalism of any exhibition.
Frequently Asked Questions
Why is framing important for art exhibitions?
Framing is crucial because it protects artwork from physical and environmental damage while enhancing its presentation. A well-chosen frame complements the artwork’s style, attracts viewers, and helps create a cohesive and professional exhibition display.
How should I choose the right frame for my artwork?
Match the frame style to the artwork’s theme—use ornate frames for classic art and minimalist ones for modern pieces. Always consider exhibition requirements, such as size, weight, and safety features, to ensure both protection and harmony in group displays.
What materials are best for framing artwork for exhibitions?
Use acid-free mats to prevent discoloration, UV-filtering glass or acrylic for protection against light, and sturdy backings for structural support. High-quality, archival materials help maintain the art’s condition and appearance over time.
What are common mistakes to avoid when framing artwork?
Common mistakes include selecting the wrong frame size, using non-archival or poor-quality materials, choosing improper glazing, uneven mounting, and inconsistent framing across multiple works. These can damage the art or disrupt the exhibition’s visual flow.
How should framed artwork be displayed in an exhibition?
Hang art at an average eye level of 57–60 inches and keep 2–4 inches of space between frames. Use consistent labeling with clear fonts and neutral backgrounds, and adjust lighting to highlight the artwork while avoiding glare.
How does proper framing help preserve artwork?
Proper framing shields art from dust, moisture, and UV rays, while acid-free and archival materials prevent yellowing and decay. Secure frames and protective glazing extend the artwork’s lifespan and keep it looking its best during and after exhibitions.
What tools and materials do I need to frame artwork for an exhibition?
Essential items include acid-free mat boards, UV-filtering glass or acrylic, archival hinging tape, a sturdy frame, rigid backing, and clean gloves. These help ensure both the protection and professional presentation of the artwork.
Do exhibition guidelines affect framing choices?
Yes, many exhibitions specify frame dimensions, safety features like shatterproof glazing, and standardized profiles for group displays. Following these guidelines ensures your artwork meets requirements for a uniform, secure, and polished exhibition.